A rag quilt is a type of patchwork quilt that is made with thrifted or recycled fabrics. The fabric is cut into squares or rectangles, and the seams are left deliberately frayed (or “ragged”). This creates a soft, cozy quilt that is perfect for winter snuggling.
Sewing a rag quilt is a great way to use up fabric scraps, and it’s a beginner-friendly quilting project. In this tutorial, we’ll show you how to sew a rag quilt from start to finish. We’ll also share some tips for choosing fabrics and color schemes for your rag quilt. Let’s get started!
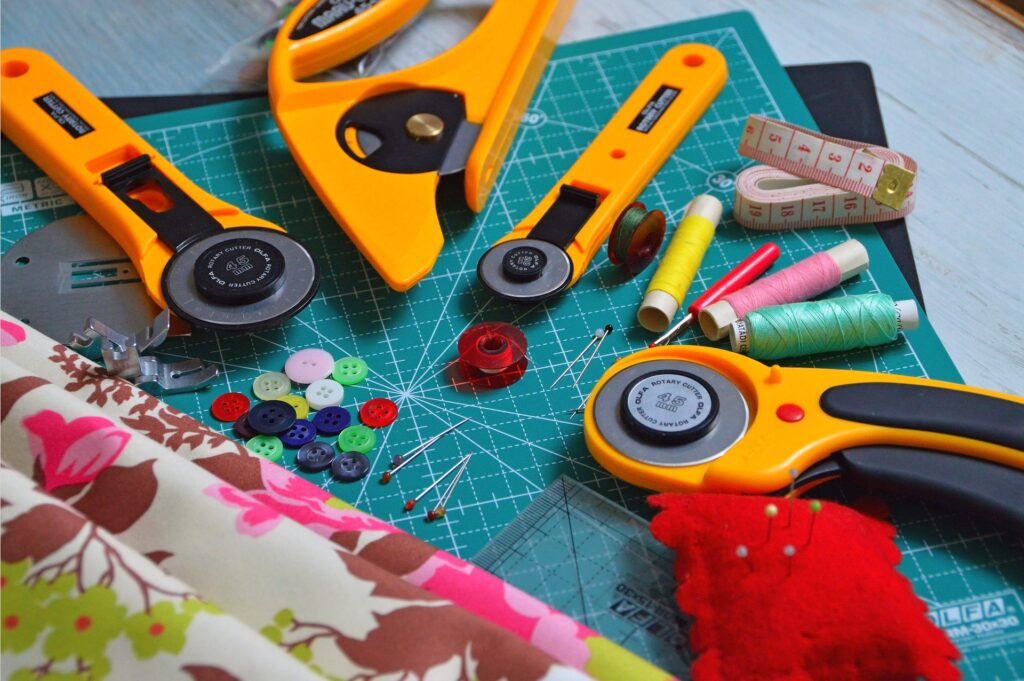
What You’ll Need
-A stack of coordinating fabrics in various colors and patterns (scraps work great!)
-Scissors
-Rotary cutter, cutting mat, and rulers (optional but helpful)
-Sewing machine
-Thread
-Iron and ironing board
-Pins
How to sew a rag quilt
Assemble the quilt top by sewing the squares together in rows. Press the seams open. Sew the rows together, nesting the seams as you go along. Press the seams open.
For the quilt backing, piece together fabric if necessary so that it is at least 2” larger all around than the quilt top.
Layer the quilt top, batting and backing wrong sides together and baste or pin together. If using pins, be sure to use ones that are safe for your machine—I like these Clover Ball Point Pins.
Quilt as desired. I did a simple stitch in the ditch around each square to secure everything in place and give some extra stability to my finished rag quilt.
Finishing the Quilt
Once you have quilted the top, trim the excess batting and backing fabric from the edges of the quilt. To finish the quilt, bind it using a 2 1/2″ wide strip of fabric. Fold the strip in half lengthwise with wrong sides together and press. Sew the binding to the quilt top, starting in the middle of one side. Work your way around to the other side, stopping and starting at each corner to leave a tail of about 8″ loose. Trim the tails even with each other, then fold each one in towards the corner at a 45 degree angle. Sew across the corner, then continue sewing along the binding until you reach where you started. Overlap your stitches by about 1/2″, then sew along the binding to finish attaching it to the quilt top. Fold over to the back and hand stitch or machine stitch in place.
Quilting Patterns
Rag quilts are cozy, comfortable and perfect for snuggling. They get their “ragged” look from the uneven, frayed seams that are a result of the special construction method. The quilts are easy and fun to make, and they can be completed in a weekend.
Here’s what you’ll need to get started:
-A wide variety of fabrics in coordinating colors (rag quilts look best when they are made with a mix of light and dark fabrics)
-Scissors
-Rotary cutter and mat (optional, but helpful)
-Straight pins
-Sewing machine
-Thread
-Iron and ironing board
Instructions:
1. Choose your fabrics. Rag quilts are traditionally made with cotton fabrics, but you can use any type of fabric that you like. Keep in mind that some fabrics will shrink more than others when they are washed, so prewashing is always a good idea.
2. Cut the fabric into squares. The size of the squares will depend on the size of the quilt that you want to make. For a baby quilt, cut the squares into 6″ or 8″ squares. For a throw quilt, cut the squares into 10″ or 12″ squares.
3. Sew the squares together in rows. To make sewing easier, you can use a rotary cutter and mat to cut the fabric into strips and then sew the strips together to form rows. Once the rows are assembled, sew them together to form the quilt top.
4. Layer the quilt top with batting and backing fabric. The backing fabric should be cut slightly larger than the top so that it extends beyond the edge by about 2″.
5. Quilt as desired. There are many different ways that you can quilt a rag quilt, but one of the simplest is to sew around each square twice, perpendicular to each other like an “X”. You can also stitch in a straight line down each row or stitch in a free-motion pattern across the entire surface of the quilt.
62 Finish the edges of the quilt with binding tape or bias binding